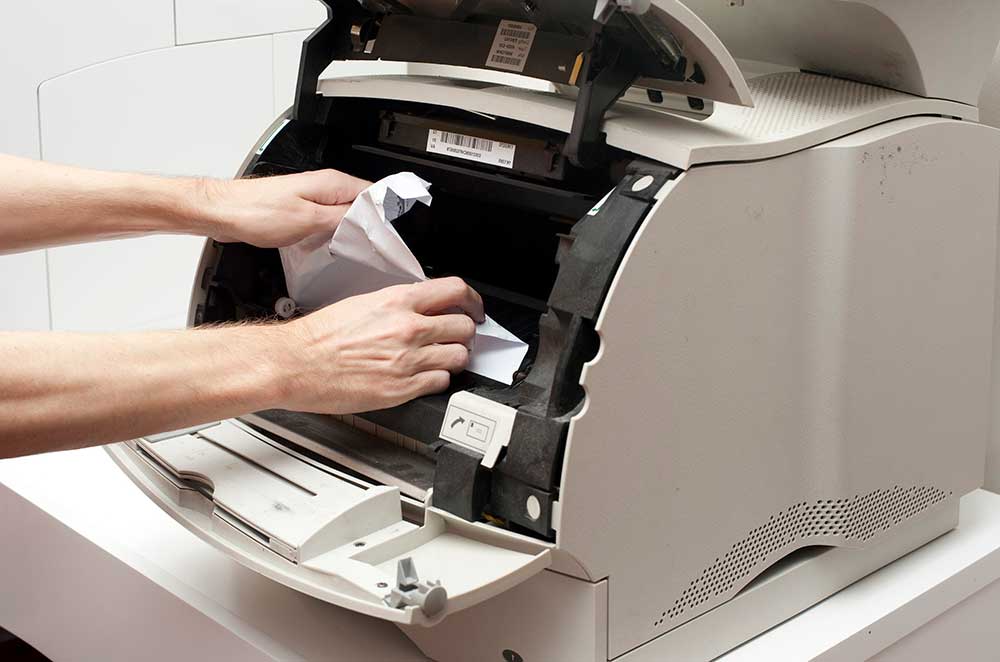
The wrong way when someone has a paper jam problem is to lift the front cover and pull the jammed paper from the printer.
Therefore, follow the instructions below to find and remove the jammed paper (paper jam) from the printer properly. Before starting, make sure to follow each step correctly and don't skip the steps provided because it can potentially damage your printer.
Step One: Removing Paper From Printer Paper Tray
- Remove all paper from the paper tray
- Press the resume button
- If you were successful in clearing paper jams, skip to step 4 and make sure the carriage can move freely
- If the paper is still jammed continue to the next step
- If more than one paper is jammed in the printer, remove the paper one at a time (remember through the printer paper tray). Hold the sheet in the middle of the pile with both hands and pull the sheet towards you. Usually, removing a sheet or two from the center of the pile takes the pressure off and can remove any paper jams.
- After my friend has removed all the paper, check again that there are no scraps of paper / pieces of paper stuck in the printer.
- If you were successful in clearing paper jams, skip to step 4 and make sure the carriage can move freely
- If the paper is still jammed continue to the next step
Step Two: Clearing Jams From Behind The Printer
If you have trouble reaching the jammed paper from the tray, follow these instructions to clear the paper from the back of the printer. The back of the printer has an access door or two-sided printing accessory known as a duplexer.
1. Remove the rear access door to clear the jam
- Turn the knob on the rear access door (counterclockwise direction)
- Let go of the door
- Pull out jammed paper
- Check that there are no pieces of paper stuck in the printer
- Reinstall the rear access door into the printer
- Turn the knob clockwise to lock it
- If you were successful in clearing paper jams, skip to step 4 and make sure the carriage can move freely
- If the paper is still jammed continue to the next step
2. Remove the double-sided printing accessory to clear the jam
- Simultaneously press the RELEASE button on each side of the module and remove the module
- Pull the jammed paper from the printer
- Check that there are no stuck pieces of paper
- Push the module back into the printer until it snaps into place (do not press the button on the end of the module while returning it
- If you were successful in clearing paper jams, skip to step 4 and make sure the carriage can move freely
- If the paper is still jammed continue to the next step
- Press the button above the double-sided printing accessory and open the door
- Pull the jammed paper from the module
- Check to make sure there are no pieces of paper stuck in the printer
- Close the duplexer door
- If you were successful in clearing paper jams, skip to step 4 and make sure the carriage can move freely
- If the paper is still jammed continue to the next step
Step Three: Lift The Front Cover And Slowly Remove The Jammed Paper
After trying all the options above, open the front cover and grasping the jammed paper, gently pull it out.
Gently pulling paper out from under the front cover is only a last resort. Pull paper from the back of the printer or into the input tray. Do not lift the front cover and pull the jammed paper out of the printer. Pulling paper quickly can increase the chance of damage to the printer.
Step Four: Ensure The Carriage Can Move Freely
- Unplug the power cord
- Check to make sure the carriage moves freely from one side of the printer to the other
- If the carriage can move freely to the right and out of view, skip to stage five: Reload and test the printer. Do not force the carriage to move.
- If the carriage does not move, continue with the following steps
- Remove the cartridge
- Gently move the cartridge to the right end of the printer
- Remove paper from the input tray, but do not remove the drawer
- Remove the double-sided printing accessory
- With your fingers, roll the roller up three full turns
- Slide the double-sided printing accessory or rear door access into the printer until it snaps into place.
- Reinstall the cartridge
- Plug the power cord into the printer
- Turn on the printer
Step Five: Reload And Test The Printer
After you manage to solve the jam or paper jam problem, make sure that the printer is still functioning properly. Do it
- Reload the printer with plain inkjet paper
- Self test printer
Step Six: Servicing Your Printer
If you have done all the steps above correctly and in order, but this problem has not been resolved, you should service your printer.


